
For those of you who stored your RV for the winter, the time has come to dewinterize your vehicles. It’s like a bear coming out of hibernation; the long nap is over, and the big beast is ready to greet the new season with a renewed sense of adventure about what lies ahead.
The level to which you decide to dewinterize is more or less up to you, and of course, how much preparation was done prior to storage. However, there are certain procedures that need to be a part of everyone’s checklist; these are the “must do” items that should not be overlooked as they are crucial to the safety and well-being of both you and your RV.
Interior

Even in storage, critters can often get inside your RV, so clean the inside spider webs, any bug droppings, etc. and dust. Check for any interior water leaks and possible damage. Perhaps most important, open all the doors and windows and let in the fresh air.
Outside
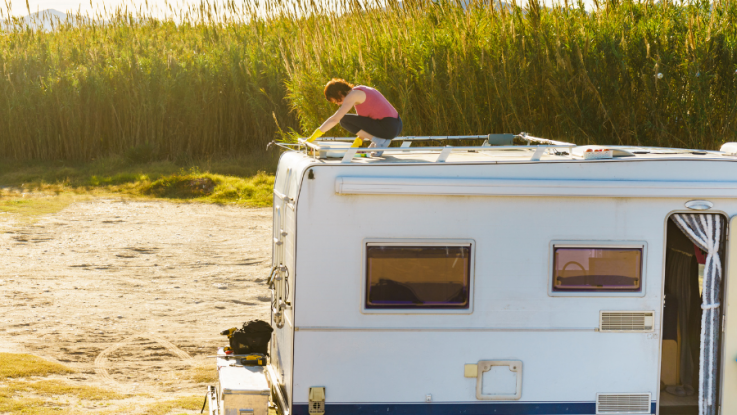
Regardless of whether you kept your RV indoors or outdoors during the off-season, you’ll need to check for damage (obviously, a little more carefully if it was outside). Here are the major areas of concern:
- Tires: A little air pressure loss is normal while in storage, especially in colder climes. Check the pressure with a high-quality tire gauge and, if necessary, add enough air to reach the manufacturer’s recommended pressure level. UV rays are one of your tires’ biggest enemies, so check the sidewalls and valve stems for any cracking; if found, have a tire professional check to determine if the tires or stems need replacing. These tires are the only thing between you and the road, so give them a healthy checkup. Remember that RV tires tend to “age out” before they wear out. So, keep watch on their age via the DOT manufacturing date information stamped on the tire sidewalls. And as the tires start to age, be sure to have them inspected by a professional on a regular basis.
- Roof & Body: Cold weather removes moisture, and this happens to your RV’s caulked seams as well. If you see any cracks or signs of separation along any of the seams (roof, doors, windows, etc.), these need immediate attention. Some areas might just need simple caulking (using the appropriate type); however, if you find evidence of a leak or rot, you might require the services of a body professional. Also, clean off your awning to prevent any stains or mildew from taking its toll. And, of course, give your vehicle an old-fashioned scrubbing to get rid of the dirt and debris.
- Rust/Paint: The best time to take care of peeling paint or rust is when these issues are small, because they can become worse if not addressed. It could require just some sanding and some rustproof paint. If bigger than you can handle on your own, seek out a professional while it is still relatively easy – and cheap – to remedy.
- Leaking Fluids: These are a major warning sign. It could be anything – brake fluid, oil, broken hose, or possibly a water tank/valve leak. Whatever it is, identify the source and take care of it pronto. While you’re checking for leaking fluids, inspect the dump hoses, too, making sure all fittings are tight. Better to find out while the tanks are empty!
RV Fresh Water System
Basically, you want to do two things here:
- Flush out the system from the non-toxic RV antifreeze solution you probably used over the winter.
- Sanitize your freshwater system to remove any bacteria or mold that could have grown during storage.
We don’t like to reinvent the wheel, so check out this KOA Camping Blog for a comprehensive explanation of how to accomplish both objectives.
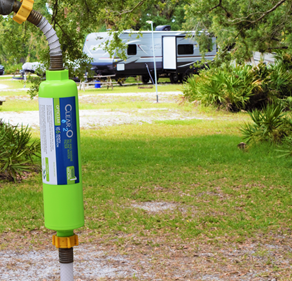
Dewinterizing day is also a perfect time to evaluate your water filtration process. It is always best to change out all water filters at the start of the season. If you’ve got inline carbon filters, it’s a good idea to replace them, regardless of how little you used them the previous season.
Also, take some time to determine whether your water filtration needs have changed. Maybe you’re planning to go out more often, or have more people in your RV. Or you simply want to upgrade your water filtration process for better water. There are numerous options; don’t feel stuck to the one you currently use if your water needs have changed.
Propane System/Appliances
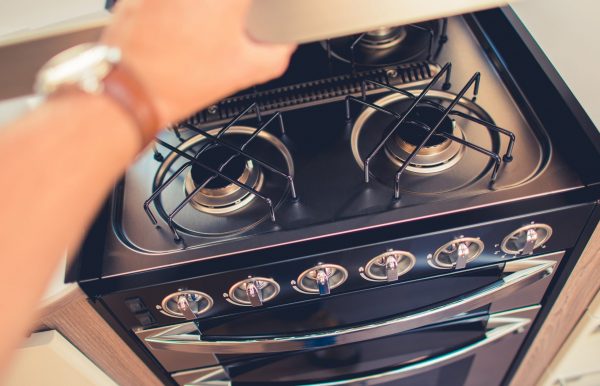 Take a peek at your propane system’s seals and hoses to make sure they are not dried out or cracked. If you have a propane leak detector, open the tank’s valve, and see if you notice any telltale propane odor. You can also use a soap and water solution, applied to the regulator and valve, to alert you to any bubbling, which would indicate a leak. Then, after cleaning the propane appliances, run them for a bit.
If you notice a leak, shut off the propane and call a professional. I find it best to start with the stove/oven, this helps to get gas sufficiently flowing through the pipes. Open and inspect the outside water heater and refrigerator compartments to remove any spider webs or bugs that have taken up residence. Then turn on the refrigerator and water heater to ensure all are operating properly.
Once you’ve checked the propane appliances, test all 120-volt appliances to ensure their proper operation as well.)
Note that RV experts recommend that owners have their propane system inspected by a trained RV service technician annually.
Waste Tank Valves
Check out the seals on your waste tank valves. (It’s wise to complete this check when your RV is connected to a dump station.) The first step is to ensure the waste tank is empty. To test the valve seal, slowly pull the handle and add valve lubrication if the handle sticks, which will also help improve the seal. The smoother the valve works, the less time you will spend in the dump station. Plus, a valve that is stuck open or closed, can be problematic on the road.
Engine and Generator
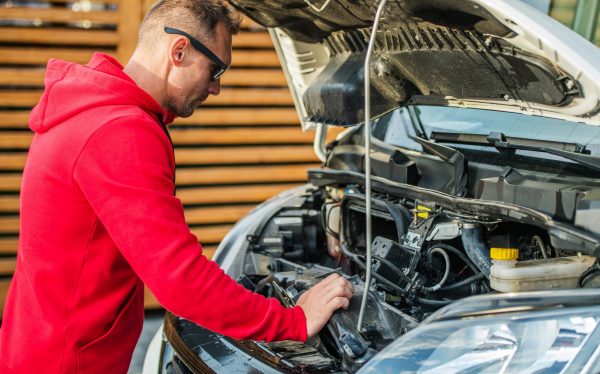
Cold weather can certainly affect your engine oil, so changing your oil and filter is a sound idea. After the oil, inspect everything else under the hood as the last check for obvious problems. Then, turn on the engine and ensure all signals, lights, and gauges are operational. Make sure all vehicle fluids are at the proper levels. If you have a generator, service according to the recommendations in the generator manual, including inspection of the generator exhaust system.
Battery
Most people remove their batteries, particularly if they will be in extremely cold temperatures. Since RV batteries can decrease in charge in storage, you’ll need to make sure they’re recharged before using your RV again when you are dewinterizing.
You’ll also want to check your batteries for any wear and tear, including cracks that may have developed from frozen water. Also, check battery connections for any signs of corrosion (this is a great time to check battery fluid level and top off as needed). Remember to check both the auto battery and house battery(s).
Safety Items
Test all your safety devices for proper operation: carbon monoxide alarm, smoke alarms, etc. Now would be a good time to install fresh batteries in the alarms. Make sure your fire extinguishers are in working order as well.
Overall, pick a nice day and plan to spend the time to go over your total RV and ensure its readiness for the road. A little preparation will prevent problems and make for better memories for you and your family on the road.
ABOUT THE AUTHOR
Keith Bernard is CEO of CLEAR2O®, manufacturers of water filtration products for RVs.
Leave a Reply