
One of the great things about owning an RV is you can change and customize it to fit your style and needs. In January 2021, we upgraded our original RV for a Heartland Torque 371M and began renovating it to fit our needs as a soon-to-be family of four. I may have been a little insane to think it was a great idea to move into a new camper and fully renovate it at five months pregnant while also working full-time. I soon realized it was a lot to undertake, pregnant or not. We are still making some renovations a year and a half later; however, it has come a long way from when we purchased it. Here are the updates that have made the most impact.
1.Converting the main bedroom into a nursery/guest room:
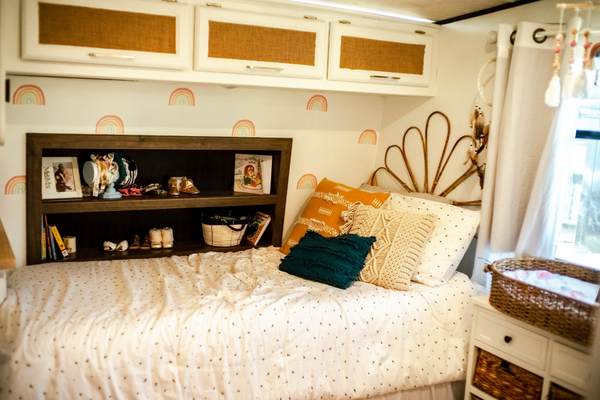
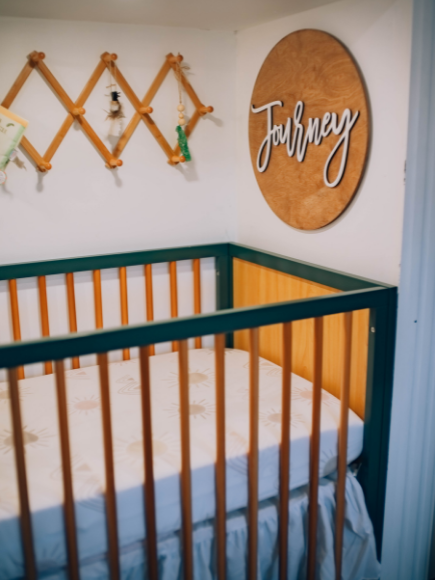
My first renovation in our new camper was converting the main bedroom into a nursery/guest room. I started by ripping out the king-size bed. Once the bed was out, I was able to remove the carpet with assistance from my husband and then laid the new flooring. After the flooring was installed, I put a twin-size bed horizontally where the king bed used to be. This bed would be for guests, but mainly for my mother, as she would be staying with us for a few weeks after the baby arrived. The bedroom slideout had a closet and dresser that were built-in; however, we had no functional use for them, so I removed them both and created a nursery area for the baby that was the perfect size for a mini crib.
2.Adding curtains:
One of the easiest ways I made our camper feel like home was by removing the valances that were above every window and replacing them with curtain rods and curtains. This small touch made such a huge difference.
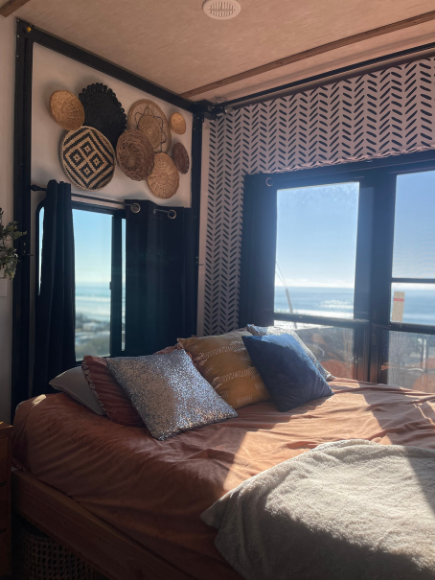
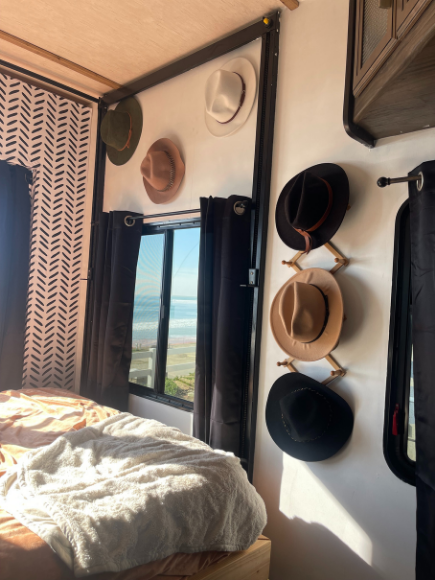
3.Converting the toy hauler room into our main bedroom:
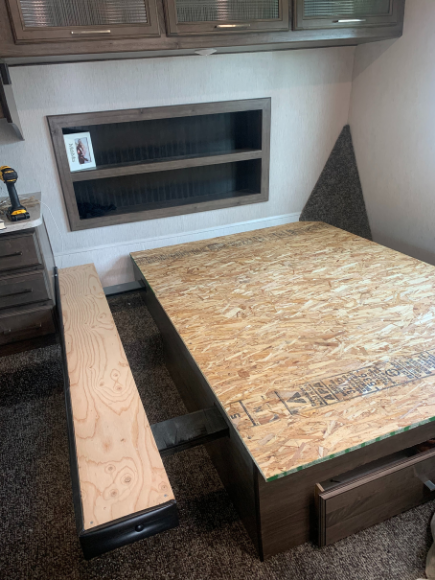
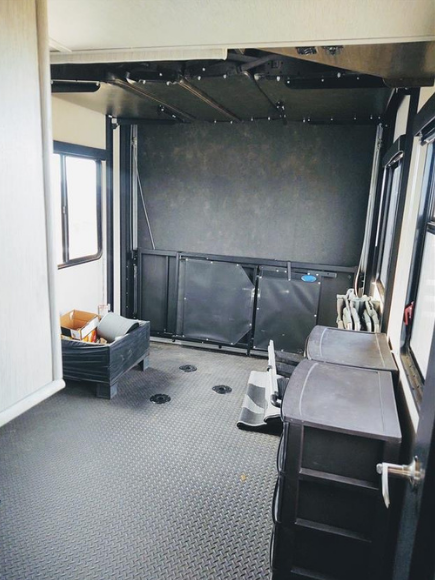
One of the reasons we purchased the camper was to use the toy hauler room as our main bedroom. I started with leveling the slope in the back of the room, adding insulation to the floors, creating a subfloor using plywood, and then laying flooring. With the help of a family friend, we also created a patio wall/door by framing the opening of the toy hauler room with wood, adding insulation into the frame, using drywall to create a wall, and adding storm doors. This allowed us to always have our toy hauler door down to utilize the patio and be able to use the room without being exposed to outside elements. We also removed the old seating on the HappiJac rails and replaced them with a custom queen-size bed and bed frame that moves up and down to allow the room to function as a playroom when we are not using the bed.
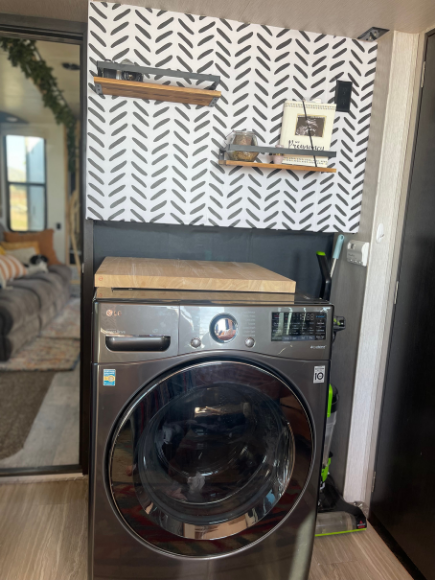

4. Wallpaper and painting:
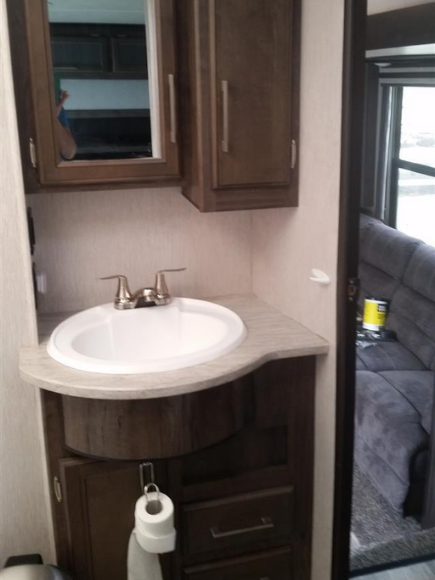
Painting the walls white is one way we made our camper feel less dated. Instead of sanding the walls, I decided to use gripping primer paint, which took about three coats to cover the walls completely. I am not a huge fan of painting. I prefer to use wallpaper when and where I can. I love using peel-and-stick wallpaper that has cute trendy prints to add fun texture and design to the walls. I added marble wallpaper to our bathroom walls along with peel-and-stick herringbone backsplash above the sink to create a more modern look.

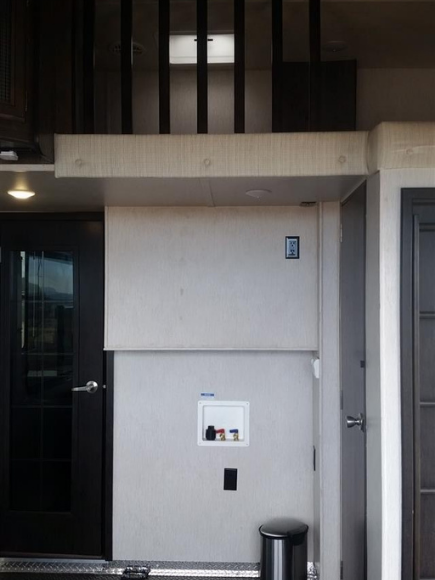
5. Removing our 2nd bathroom:
Our toy hauler room was built with a half bath that had a toilet and a small sink in the corner; however, the bathroom was so tiny you’d have to leave the door wide open to use the toilet. Instead of having an impractical second bathroom, I ripped out the toilet, sealed off the sewage hole, and capped the waterline to instead use it as a wardrobe closet for my husband and me.
|
Hi, I’m Amber. I’m a mom, Project Analyst, Content Creator, Lifestyle & Travel Blogger. Originally from Arizona, I am currently traveling the U.S. full time with my family in our RV. We are a retired military family of 4 who have been fulltime RV living since November 2019. When I am not working you can find me exploring the outdoors, visiting national parks, hiking, surfing, renovating our RV, and traveling.
|


Leave a Reply